

Painting a Landscape
Begin by carefully choosing your pigments, then mix the colours on your pallet. You may choose to use one pigment of a colour such as blue to mix your colours with, or two different pigments of the same colour. Getting Started
Learning by Replicating
The first step in painting a landscape is to choose a source image, or find a landscape you wish to reproduce. It is a great idea for beginners when looking for canvas painting ideas, to choose to a source image from Art History. Relicating is a great resource for getting painting ideas. Painting a landscape from Art History will teach you about brush strokes, mixing and blending colours and you will gain valuable knowledge working the paint over your canvas. I chose to replicate a Group of Seven. I hope that painting this landscape will give you a feel for the steps needed to get you started with your own ideas.
Blocking & Mixing
Creating ambiance
Begin by carefully choosing your pigments, then mix the colours on your pallet. You may choose to use one pigment of a colour such as blue to mix your colours with, or two different pigments of the same colour. For example, you may decide on one pigment of blue (indigo blue) for the sky and another pigment of blue (ultramarine blue) for the water. Having subtle changes in pigments in a colour can help to distinguish the different areas in your landscape. Always keep track of the pigments chosen for your landscape. A change in pigments from one painting session to another can disturb the colour balance on your canvas and create extra work later on. I like to start by blocking in the areas of light and dark on the canvas contrasting the sky and ground. Blocking your canvas helps to create an overall atmosphere for the painting and help you visualize your creative ideas on the canvas.

Focal point
The raison d’être
Once the canvas is blocked in I usually begin to work on the focal point. This area of the canvas is the subject, or area towards which you want the eye to be drawn because it tells a story, expresses your visual ideas or your reason for choosing the scene. This will be the area you begin your detailed work. Continue to work outward from focal point of your canvas painting.

Brushes & Textures
Be creative
I like to use a large square brush when I am blocking in large areas of my canvas. Test out different ideas by sweeping or moving the paint around with another brush over top to achieve the desired texture.
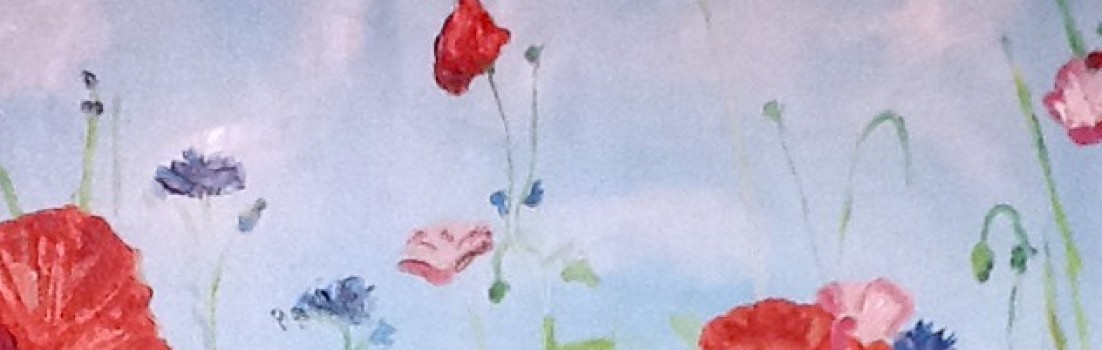
Clouds: Use a rounded brush covered in white to dab or blend over top a blue background to get a Cloud Effect.
Summer Leaves: A small round brush covered in light green pushed onto bare branches over lade with more shades of green paint will depict leaves in full summer.
Pine Trees: A large square brush or fan brush with a dark shade of green dabbed and dragged down will be the start of the layers on a pine tree.
If I don’t have the right brush to make the right line or texture I will use what I have on hand. The end of my brush or a pallet knife works well for the thin lines of the branches or the texture on the tree trunk.
")


Overlapping paint
Paintings are like onions…
A landscape oil painting is the application of layers of paint on canvas.
The first layer is the atmosphere or under painting which is the sky and the ground. The second layer is the basic shape of an object such as the thick rectangular line of a tree trunk. The third and four and firth layers are those details you add on top of the previous layers such as the leaves on the trees and the shadows on those leaves. I rarely just use one colour in one area. I usually have a light, medium and dark shade of any specific colour I am using in all areas. I layer them one on top of the other and I place them side by side to depict light and shadow. The more layers you are able to add to your painting the more depth and perspective you can give to your landscape. I will also let my brush get a little dirty with the three shades of the one colour then allow for the natural distribution of the shades. Finally, step back to carefully add the highlight or shadow with a clean brush.


Balance: Stepping Back
Change of perspective
Examining your work from a different perspective is a valuable painting technique. It is not a gimmick but a way for an artist to place themselves into the perspective of a first time viewer of their painting. When doing this examination of your work you need to ask yourself if your eyes are drawn to the focal point? If they were not you may need to add more detail to the focal point or reduce the detail surrounding that area. Did you put an even amount of paint in all areas or does one colour or brush stoke take over the whole painting? If this is the case you may need to go over some areas with a larger brush to bring back the balance. You may need to add additional highlights to bring an object forward or add additional shadows to have an object recede into the background. Looking back and forward from the source image to the painting will help to clarify the successful areas and those areas that either need to be brought forward or those that need to be toned down.
